Authorize.net
A how-to guide on working with Authorize.net. Includes information on working with CiviCRM combined with Authorize.net.
These pages are permission protected since they contain more sensitive information.
Logging into Authorize.net
Once your account is processed and approved by the Authorize.net reseller of your choice, you will receive an email or emails containing the link and your log-in information. Please be careful who you share this information with - and be sure to change the password after receiving it in your email. Email is not secure, and passwords sent through the email are therefore not secure.
Use that information to log into your account.
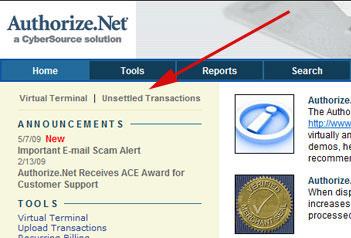
After logging in, you will get a screen that looks like this:

Through this screen, you can access the feautures of your account, incoming transactions, and more.
Doing recurring transactions
At this time, the only way to do automated recurring donations with CiviCRM is through Paypal.This means that to do recurring donations via Authorize.net, you have to take some extra steps. These extra steps only have to be done once per donation - not ever month.
Tip: You have to set up the extra fields asking if this is a recurring donation, how many times it should be charged, etc. and add it to the contribution form. We're working on the ability to be able to use the fields that are created by CiviCRM but do not show up because recurring transactions aren't supported for anything other than Paypal.
After a person makes a donation, you should receive a copy of their receipt. Inside that receipt, it should tell you whether it is a recurring donation, and if so, for how many months.
For instance, the receipt we have set up has a section that says this:
===========================================================
Recurring donations
===========================================================
 Is this donation a monthly donation? : No
How many months do you want your donation processed? :
Review this receipt to see if this is a recurring donation or not.
Tip: You may want to set up a separate donation form just for recurring donations, as then the header for that email receipt will differ from the non-recurring ones.
Log into Authorize.net.
Click on Unsettled Transactions.
This will give you a listing of items that have come through and not finalized yet. Click on the transaction that needs to be set up to be recurring. (Note: Some fields have been blacked out for privacy reasons.)
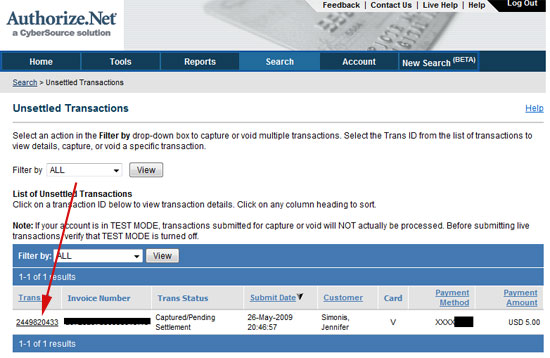
On the next page you'll see the details of that transaction.

(click image to see full view of the entire page)
On this page, you will click "Create ARB Subscription from Transaction" to create the recurring transaction.
On the next page, you'll put in how often, when to stop the recurring transaction, etc. You should not have to touch the information regarding the credit card number since it is already stored in the system.
Submit the page.
You've now made that donation into a recurring transaction.
Manually processing a transaction
To manually process a transaction via Authorize.net:
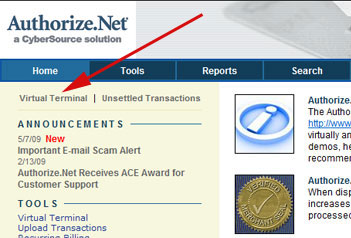
Click on the "Virtual Terminal" link in the left-hand side of the page.
Fill out and submit the form. This will charge the credit card.
To manually process a transaction via CiviCRM (connected to Authorize.net)
Go to your web site.
Log in.
Click on the CiviCRM link.
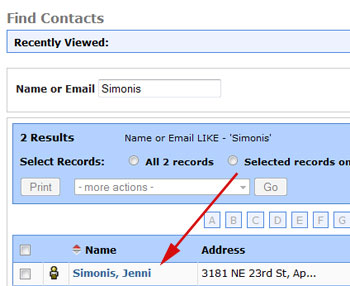
Search for the person whose contribution it is you will be entering. If CiviCRM finds them, click on their name to bring up their information.
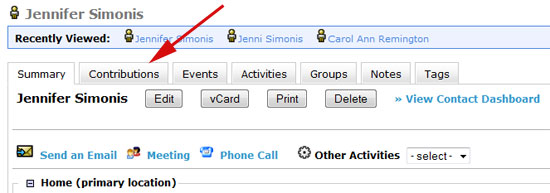
Click on the Contribute tab.
On the following page you can choose which type of contribution you want to enter:
- a contribution via check/cash that only needs to be recorded in the database
- a contribution via credit card that needs to be recorded in the database and the card run through Authorize.net
This allows you to keep track of all contributions in the database.