
Creating your email
Go to Mailings » New Mailing
Title the mailing. Optionally choose which campaign this is in regards to.
Add your mailing list to the recipients.
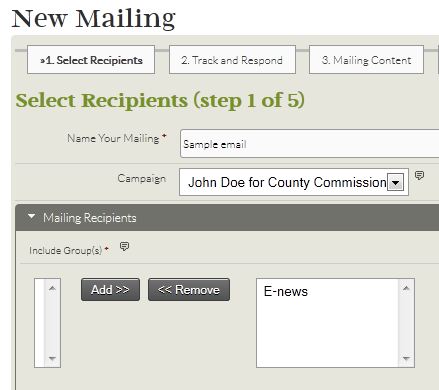
Click next.
Choose your tracking and visibility options.
Click next.
If you have multiple from email addresses set up, choose which one to send from. If you have only one, it is chosen by default.
Input the subject for the email.
You can then choose to input your content on the screen or import it. Just remember that html is emails is VERY simple as compared to web pages. You are very limited in what html will show in an email. I highly recommend creating your email and then sending a test to yourself to various emails (Gmail, Hotmail, one checked in Outlook, etc.) to ensure your coding works. Tables can be used; however, they don't show in the WYSIWYG editor by default. We have it turned on for our setups; however, it does not come like that in a standard install.
You have the option of inputting both a html email as well as a plain text email.
Underneath the plain-text email option (collapsed by default) is a checkbox that will allow you to save this email as a template. Then you can utilize what you create here for other emails.
Ensure the correct header and footer are chosen (if applicable).
Click next.
On this page you can send test emails. You can send it directly to an email address or to a mail list group you have created just with test recipients in it.
You can also expand the preview area and see what the email should look like.
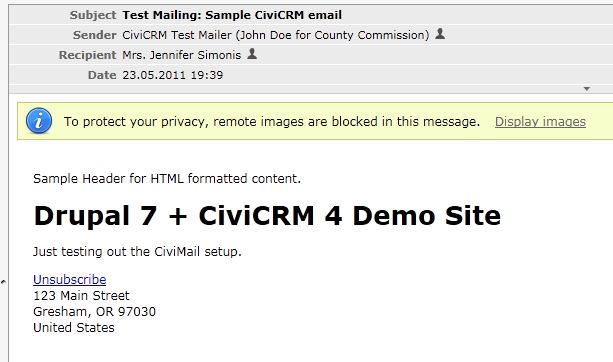
If everything is set up right on your server, the email should be received within a few minutes.
My test email in my webmail account:
If you want to make changes, I recommend clicking "Save and Continue Later" first to ensure your mailing is saved.
This will then take you to the Draft Mailings page where you can click "Continue" to work with the email again.
